Witajcie. //Hallo.
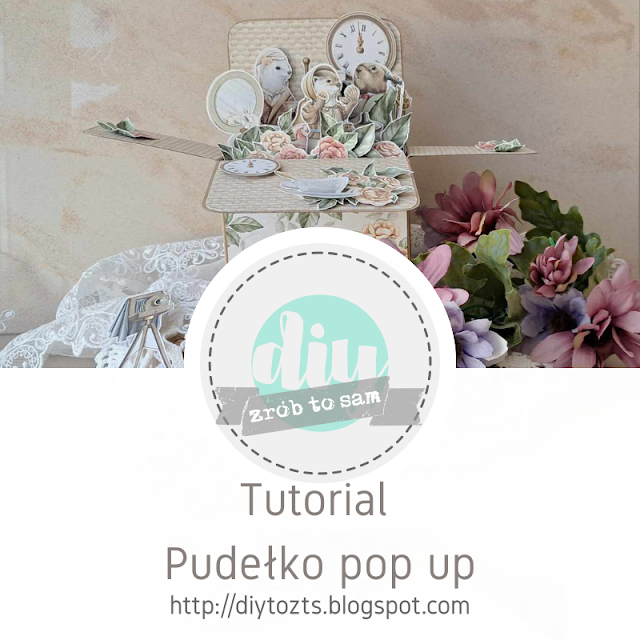
Jak wiecie w miesiącu czerwcu tematem naszego wyzwania jest Bajkowy Świat. Ja w ramach inspiracji przygotowałam pudełko pop up na bazie od jednego z naszych sponsorów Goat Box. Dziś postanowiłam zaprezentować Wam sposób jego wykonania.
As you know, in June the theme of our challenge is Fairy Tale WorldFairy Tale World. For inspiration, I prepared a pop-up box based on one of our sponsor Goat Box. Today I decided to show how to make it.
Potrzebujemy:
- baza pudełka pop up od Goat Box
- papier scrapowy (dowolny)
- arkusz z elementami do wycinania ( ja wykorzystałam kolekcję Bedtime Tales)
- kostki lub taśma dystansowa
- nożyczki, klej, linijka, ołówek
We need:
- pop up box from Goat Box
- sheet with cutting elements ( I used colection Bedtime Tales )
- cubes or spacer tape
- scissors, glue, rulee, pencil
Z papieru scrapowego wycinamy elementy do oklejenia pudełka zgodnie z wymiarami znajdującymi się na zdjęciu ( w cm). Aby nadać pudełku delikatności zaokrągliłam rogi.
We cut out the elements to cover the box from scrap paper according to the dimensions in the photo (in cm). To make the box delicate, I rounded the corners.
Przygotowane elementy z naklejam odpowiednio na boki i skrzydełka pudełka ze strony zewnętrznej.
I glue the prepared elements to the sides and wings of the box from the outside.
Oklejamy skrzydełka (górną części pudełka) od strony wewnętrznej.
We glue the wingd (the upper part of the box) from the inside).
Składamy pudełko po liniach bigowania. Sklejamy pudełko i dopiero teraz oklejamy tylną ściankę od strony wewnętrznej, aby ukryć miejsce sklejenia pudełka.
We fold the box along the creasing lines. We glue the box and only now glue the back wall from the inside to hide the place where the box is glued.


.png)
.png)
.png)
.png)
.png)
.png)
.png)
.png)

No comments:
Post a Comment